We will guide you step by step on how easily you can Install Apache & configure the server:-
How do I install and configure the Apache, MariaDB & PHP on a new server?. To install the Apache, MariaDB & PHP you must have server root access. Basically, you can perform the thing on VPS / Dedicated server only.

Step 1: Install Apache2 HTTP Server on Ubuntu
Apache2 HTTP Server is the most popular & faster web server to use for hosting providers & web developers.
To install Apache2 HTTP on the Ubuntu server, run the commands below…
sudo apt update
sudo apt install apache2
Once Apache2 installed, run the below command to stop, start and enable Apache2 service.
sudo systemctl stop apache2.service
sudo systemctl start apache2.service
sudo systemctl enable apache2.service
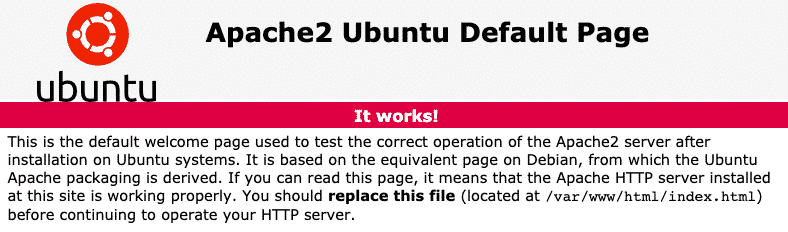
You have installed Apache2. Now to test & verify the Apache2 is running successfully or not? open your browser and browse to the server hostname or IP address and you should see the Apache2 default test page as shown below
Step 2: Install MariaDB Database Server
MariaDB sports faster and safer replication with updates being up to 2x faster than with traditional MySQL Replication setups. To install the MariaDB run the below command:-
sudo apt-get install mariadb-server mariadb-client
After installing the successfully MariaDB, run the below commands to stop, start and enable the MariaDB service.
Below commands to be used 16.04 TLS
sudo systemctl stop mysql.service
sudo systemctl start mysql.service
sudo systemctl enable mysql.service

Below are commanded to be used 18.04 & 18.10 TLS
sudo systemctl stop mariadb.service
sudo systemctl start mariadb.service
sudo systemctl enable mariadb.service
With the above command, you have installed successfully MariaDB, But your database server is not yet secure. So you will need to secure it first. You can secure it with the following command:
sudo mysql_secure_installation
Once prompted, answer the questions below by following the guide.
- Enter current password for root (enter for none): Just press the Enter
- Set root password? [Y/n]: Y
- New password: Enter password
- Re-enter new password: Repeat password
- Remove anonymous users? [Y/n]: Y
- Disallow root login remotely? [Y/n]: Y
- Remove test database and access to it? [Y/n]: Y
- Reload privilege tables now? [Y/n]: Y
Restart MariaDB server, Now time to test the MariaDB installed successfully or not
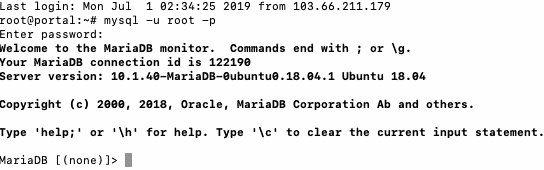
sudo mysql -u root -p
Then type the password you created above to sign on… if successful, you should see MariaDB welcome message
Step 3: Install PHP 7.2
PHP 7.2 may not be available in Ubuntu default repositories… in order to install it, you will have to get it from third-party repositories.
Run the commands below to add the below third party repository to upgrade to PHP 7.2
sudo apt-get install software-properties-common
sudo add-apt-repository ppa:ondrej/php
Then update and upgrade to PHP 7.2
sudo apt update
Next, run the commands below to install PHP 7.2 and related modules.
sudo apt install php7.2 libapache2-mod-php7.2 php7.2-common php7.2-gmp php7.2-curl php7.2-intl php7.2-mbstring php7.2-xmlrpc php7.2-mysql php7.2-gd php7.2-xml php7.2-cli php7.2-zip
After installing PHP 7.2, run the commands below to open the PHP default config file for Apache2…
sudo nano /etc/php/7.2/apache2/php.ini
Then make the changes on the following lines below in the file and save. The value below is a great setting to apply in your environments.
Step 4: Restart Apache2
After installing PHP and related modules, all you have to do is restart Apache2 to reload PHP configurations…
To restart Apache2, run the commands below
sudo systemctl restart apache2.service
To test PHP 7.2 settings with Apache2, create a phpinfo.php file in the Apache2 root directory by running the commands below
sudo nano /var/www/html/phpinfo.php
Then type the content below and save the file.
<?php phpinfo( ); ?>
Save the file.. then browse to your server hostname followed by /phpinfo.php
You should see the PHP default test page…