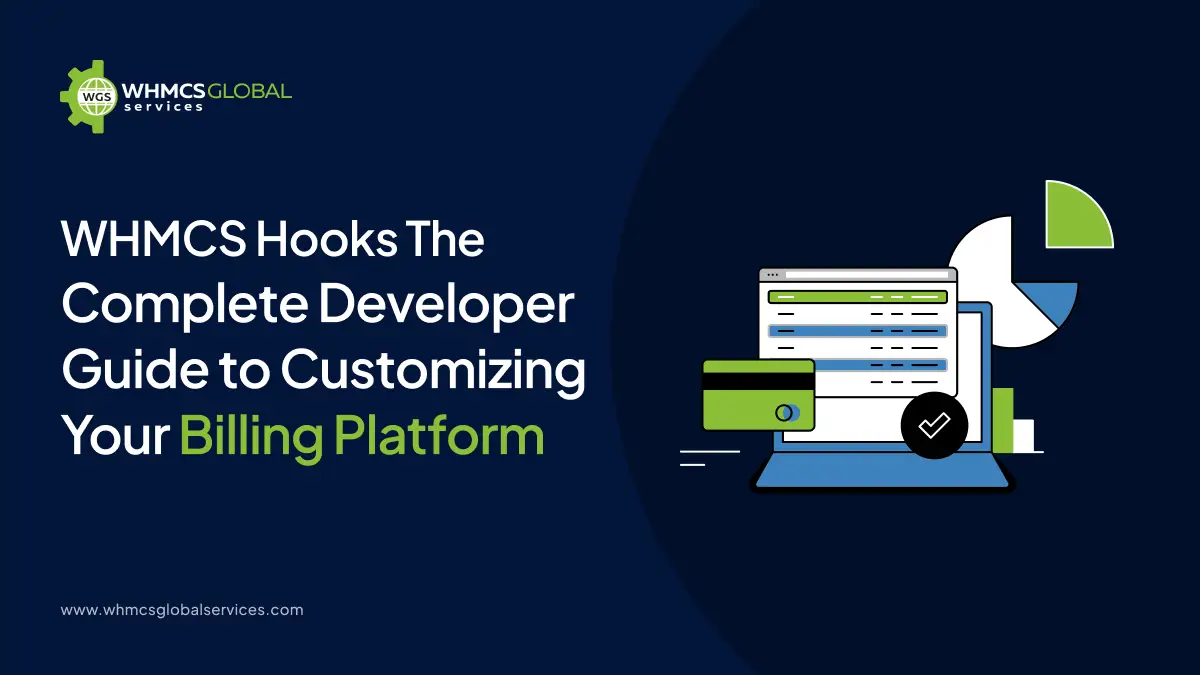
Most WHMCS admins face the same issue: you need WHMCS to do something it doesn’t do out of the box but modifying core files risks losing every change in the next update. Sound familiar? Maybe you want to fire a Slack notification when a new order is placed, include a personalized message in the client area, or block order completion depending on your own business logic.
But don’t worry, WHMCS has already solved this issue for you. WHMCS hooks are the clean and safe way to extend your billing platform with custom PHP logic triggered automatically by internal events, without touching a single core file. This guide covers everything about WHMCS hooks: how they work, how to write them, real-world examples, and best practices for 2026.
Key Takeaways
- WHMCS hooks let you customize WHMCS safely without editing core files.
- Hooks run automatically when specific events happen inside WHMCS.
- The add_hook() function is used to register custom hook logic.
- Every hook includes a hook point, priority, and callback function.
- The $vars array provides the event-specific data your hook can use.
- Some WHMCS hooks support return values to modify default behavior.
- Hook files are usually stored in the /includes/hooks/ directory.
- Hooks can also live inside modules and only run when the module is active.
- Hooks are ideal for automation like notifications, validations, and UI changes.
- Debugging hooks starts with checking file load, hook trigger, and code execution.
What are WHMCS Hooks?
WHMCS hooks allow developers to execute custom PHP code when specific events occur inside WHMCS without touching core files. When a hook point fires (for example, when an invoice is paid or an admin logs in), WHMCS looks for any registered callbacks for that event and runs them in priority order.
This makes hooks the correct, supported mechanism for customization. Because your code lives in separate files, either in /includes/hooks/ or inside a module, it is completely insulated from WHMCS core updates.
Your customizations survive upgrades automatically. Compare this to editing core files, where every WHMCS release can overwrite your changes, create merge conflicts, or silently break functionality.
Hooks are also the foundation of a healthy module ecosystem. Provisioning modules, registrar modules, and addon modules can all register their own hooks, which only activate when the module is enabled.
How Do WHMCS Hooks Work?
At the core of the WHMCS hook system is the add_hook() function.
Here is the standard syntax:
add_hook('HookPointName', priority, function($vars) {
    // your code here
});
Let’s break this Point.
Hook Point Name
This is the string name of the event you want to listen to for example, OrderPaid, InvoiceCreated, or AdminAreaFooterOutput. Hook point names are case-sensitive. A typo here means your hook silently never fires.
Priority: An integer that controls execution order when multiple hooks are registered for the same event. Lower numbers run first. A hook with priority 1 will always run before a hook with priority 50. The recommended default is 10. Use 1 for critical, high-priority logic and 100 for cleanup or logging tasks.
Callback: Function Your callback can be either a closure (anonymous function) or a named function reference. Closures are fine for simple, self-contained logic. For complex hooks with many lines of code, named functions are easier to test and maintain.
The $vars Array: WHMCS passes a $vars array into every hook callback. The contents depend on the hook point — for example, an invoice hook might pass invoiceid, userid, and status. Always inspect $vars with print_r() or logActivity() during development to understand what data is available.
Return Values: Some hook points allow you to override WHMCS’s default behavior by returning data from your callback. For example, output hooks let you inject HTML by returning a string. Check the official WHMCS Hooks Reference for which hook points support return values.
How to Create WHMCS Hooks?
According to the official WHMCS developer documentation, creating a hook involves two steps: creating the hook file in the right location, and adding the hook function to it. Here’s the full process with practical details added.
Step 1 – Create the Hook File
WHMCS hooks live in the /includes/hooks/ directory of your installation. Alternatively, they can reside inside a module.
touch ~/includes/hooks/helloworld.php

Or simply create the file via FTP/SFTP in /includes/hooks/.
Tip: To exclude a hook file from execution temporarily, prefix its filename with an underscore (_). For example, _helloworld.php will be ignored by WHMCS until you remove the underscore. This is useful during development.
Step 2 – Add the Hook Function
Open your new file and add your hook code. Per the official docs, hook functions can be either named functions or closures both are fully supported.
When the hook runs, WHMCS passes a $vars array to your callback. The variables available in $vars depend on the specific hook point being invoked and the data available at that moment. Some hook points also allow you to return values in some cases; what you return can override WHMCS’s default behavior.
| Important: When using a named function, always prefix your function name with something unique to your code to prevent naming conflicts with other hooks or modules in the same installation. |
Here’s a real-world example a hook that sends a Slack notification when an order is paid:
<?php
if (!defined('WHMCS')) {
    die('This file cannot be accessed directly');
}

add_hook('OrderPaid', 1, function ($vars) {
    $orderId         = $vars['orderid'];
    $clientId        = $vars['userid'];
    $amount          = $vars['amount'];

    $slackWebhookUrl = 'https://hooks.slack.com/services/YOUR/WEBHOOK/URL';

    $message = [
        'text' => " New order paid! Order #$orderId by Client #$clientId — \$$amount",
    ];

    $ch = curl_init($slackWebhookUrl);
    curl_setopt($ch, CURLOPT_POST, true);
    curl_setopt($ch, CURLOPT_POSTFIELDS, json_encode($message));
    curl_setopt($ch, CURLOPT_HTTPHEADER, ['Content-Type: application/json']);
    curl_setopt($ch, CURLOPT_RETURNTRANSFER, true);
    curl_exec($ch);
    curl_close($ch);
});
And the same logic written using a named function instead of a closure:
<?php
if (!defined('WHMCS')) {
    die('This file cannot be accessed directly');
}

function mycompany_notify_slack_on_order_paid($vars) {
    $orderId         = $vars['orderid'];
    $clientId        = $vars['userid'];
    $amount          = $vars['amount'];

    $slackWebhookUrl = 'https://hooks.slack.com/services/YOUR/WEBHOOK/URL';

    $message = [
        'text' => "New order paid! Order #$orderId by Client #$clientId — \$$amount",
    ];

    $ch = curl_init($slackWebhookUrl);
    curl_setopt($ch, CURLOPT_POST, true);
    curl_setopt($ch, CURLOPT_POSTFIELDS, json_encode($message));
    curl_setopt($ch, CURLOPT_HTTPHEADER, ['Content-Type: application/json']);
    curl_setopt($ch, CURLOPT_RETURNTRANSFER, true);
    curl_exec($ch);
    curl_close($ch);
}

add_hook('OrderPaid', 1, 'mycompany_notify_slack_on_order_paid');
Check whether the function name is prefixed with mycompany_ –this follows the official recommendation avoid naming conflicts.
Step 3: Save and Test
Save the file and trigger the relevant event in your WHMCS staging environment to confirm the hook fires properly. See the debugiing section below for how to verify execution using the Activity log.
Complete WHMCS Hook Categories Reference
| Category | Description |
|---|---|
| Addon | Events related to addon module lifecycle (activation, deactivation, upgrades) |
| Admin Area | Admin panel page loads, sidebar items, menu output |
| Authentication | Login and logout events for both admin and client users |
| Client | Client account creation, editing, deletion, and status changes |
| Client Area Interface | Client-facing page output, navigation, and content injection |
| Contact | Sub-account and contact add/edit/delete events |
| Cron | WHMCS daily automation cron job start/end events |
| Domain | Domain registration, renewal, transfer, and status events |
| Everything Else | Miscellaneous events that don’t fit other categories |
| Invoices and Quotes | Invoice creation, payment, cancellation, and quote events |
| Module | Provisioning module create, suspend, terminate, and upgrade events |
| Output | HTML output injection points across admin and client areas |
| Products and Services | Product and service lifecycle events |
| Registrar Module | Domain registrar-specific events (WHOIS, nameservers, etc.) |
| Service | Hosted service status changes and renewals |
| Shopping Cart | Cart checkout steps, product validation, and order submission |
| Support Tools | Network tools and other support utility events |
| Ticket | Support ticket open, reply, close, and status change events |
| User | User account events, separate from legacy client events |
For the full list of named hook points within each category, see the WHMCS Hooks Reference.
How do I Debug a WHMCS Hook That Is Causing Issues?
Hooks not firing is among the common frustrations for WHMCS developers. Here’s a systematic debugging approach.
When creating a hook, there are three core questions you need to answer: Was the hook file loaded? Was the hook point triggered? Did the code inside the hook actually execute? The official WHMCS Troubleshooting & Debugging Hooks guide structures the debugging process around exactly these three questions. Here’s how to work through each one.
Step 1 – Check If Your Hook File Is Loading
How to do it:
- Navigate to Configuration > System Settings > General Settings > Other Tab
- Check the Hooks Debug Mode checkbox
- Click Save Changes
- Perform the action that should trigger your hook point
- Navigate to Configuration > System Logs > Activity Log
With Hooks Debug Mode enabled, WHMCS logs every hook file it loads on each page request. Check the Activity Log to confirm your file appears in the list. If it doesn’t show up, the file isn’t being picked up by WHMCS at all — check its location and filename.
| Important: Enabling Hooks Debug Mode will generate a large number of Activity Log entries. Use it only while actively debugging and switch it off immediately afterwards. |
Step 2 – Check That Your Hook Point Is Triggering
Once you know the file is loading, the next question is whether the specific hook point inside it is actually being fired. These are two separate things — a file can load without its hook point ever triggering.
In the Activity Log (with debug mode on), look for your hook point name in the log entries. For example, if you’re working with AdminAreaFooterOutput, you should see a log entry confirming that hook point was triggered. If it doesn’t appear, check that you’re performing the correct action in WHMCS that fires that particular event.
Step 3 – Check If Your Hook Code Is Executing
Once you’ve confirmed the hook point is triggering, the final question is whether your specific code inside the callback is running. The recommended approach from the official docs is to use the logActivity() function to write a log entry from inside your hook:
php
<?php

if (!defined('WHMCS')) {
    die('This hook should not be run directly');
}

add_hook('AdminAreaFooterOutput', 1, function ($vars) {
    logActivity('AdminAreaFooterOutput hook has run. Posted Vars: ' . print_r($vars, true));
});
After triggering the event, check out the Activity Log for your custom log entry. This also lets you inspect exactly what data is available in $vars at the time the hook fires — which is invaluable for development. For more on the logActivity() function, see the WHMCS Logging developer documentation.
Step 4 – Ensure Module Hooks Are Running
If your hook is inside a module rather than /includes/hooks/, there are some additional things to check.
A module hook will only run while the module it belongs to is active under Configuration > System Settings > Addon Modules. If the module is inactive, its hooks will never fire — regardless of whether the hook point itself triggers.
| Data loss warning: If a module is already active, deactivating it can result in data loss. Always back up both your files and database before deactivating any module. |
Step 5 – Ensure Hook Cache Is Refreshed After Changes
Generally, hook files in /includes/hooks/ are detected and loaded on every page load automatically. However, module hooks behave differently — they are detected at the time the module is first activated. If you add or modify a hook file after the module is already active, WHMCS may not pick up the change until you manually rebuild the hook cache.
The steps differ by module type:
| Module Type | How to Refresh the Hook Cache |
|---|---|
| Provisioning Module | Go to Configuration > System Settings > Products/Services, open the Module Settings tab for an applicable product, and click Save Changes |
| Registrar Module | Go to Configuration > System Settings > Domain Registrars, open the registrar’s settings, and re-save |
| Addon Module | Go to Configuration > System Settings > Addon Modules, open the addon’s settings, and re-save |
Common Issues Checklist
| Symptom | Likely Cause | Fix |
| File doesn’t appear in Activity Log | File is not in /includes/hooks/ | Move the file to the correct directory |
| File doesn’t appear in Activity Log | Filename starts with _ | Remove the _ prefix to enable loading |
| Hook point doesn’t appear in Activity Log | Wrong action performed | Confirm you’re triggering the correct WHMCS event |
| Hook point never fires | Misspelled hook point name | Hook names are case-sensitive check the exact name in the Hooks Reference |
| File loads but code doesn’t run | PHP syntax error in hook file | The entire file is silently skipped; check your PHP error logs |
| Module hook not firing | Module is inactive | Activate the module under Configuration > System Settings > Addon Modules |
| Module hook not picking up changes | Hook cache not refreshed | Re-save the module settings for the appropriate module type (see table above) |
WHMCS Hooks vs. WHMCS API: When to Use Which
These two tools serve different purposes and are often confused by developers new to the platform.
WHMCS Hooks are reactive: They fire automatically in response to internal WHMCS events. You register a callback, and WHMCS calls it when something happens. Hooks are the right tool for automation inside WHMCS post-processing, notifications, UI customization, and validation.
The WHMCS API is proactive: You call it from an external system a CRM, a custom dashboard, a third-party integration to interact with WHMCS programmatically. The API is the right tool when you need to push actions into WHMCS from outside.
A practical rule: if the trigger lives inside WHMCS, use a hook. If the trigger lives outside WHMCS, use the API. Many advanced integrations use both an external event called the WHMCS API, which in turn fires internal hooks that your custom code responds to.
Conclusion
WHMCS hooks are the foundation of sustainable, upgrade-safe WHMCS customization. Whether you’re building a simple Slack notification, a complex order validation workflow, or injecting custom HTML throughout the client area, hooks give you the tools to do it without ever touching a core file. The 19 hook categories and hundreds of named hook points cover nearly every event in the WHMCS lifecycle. Paired with good debugging habits and the practices in this guide, you have everything you need to extend WHMCS confidently.
Need help building a custom WHMCS hook? Leave a comment below, contact our team to get started with WHMCS Hooks.