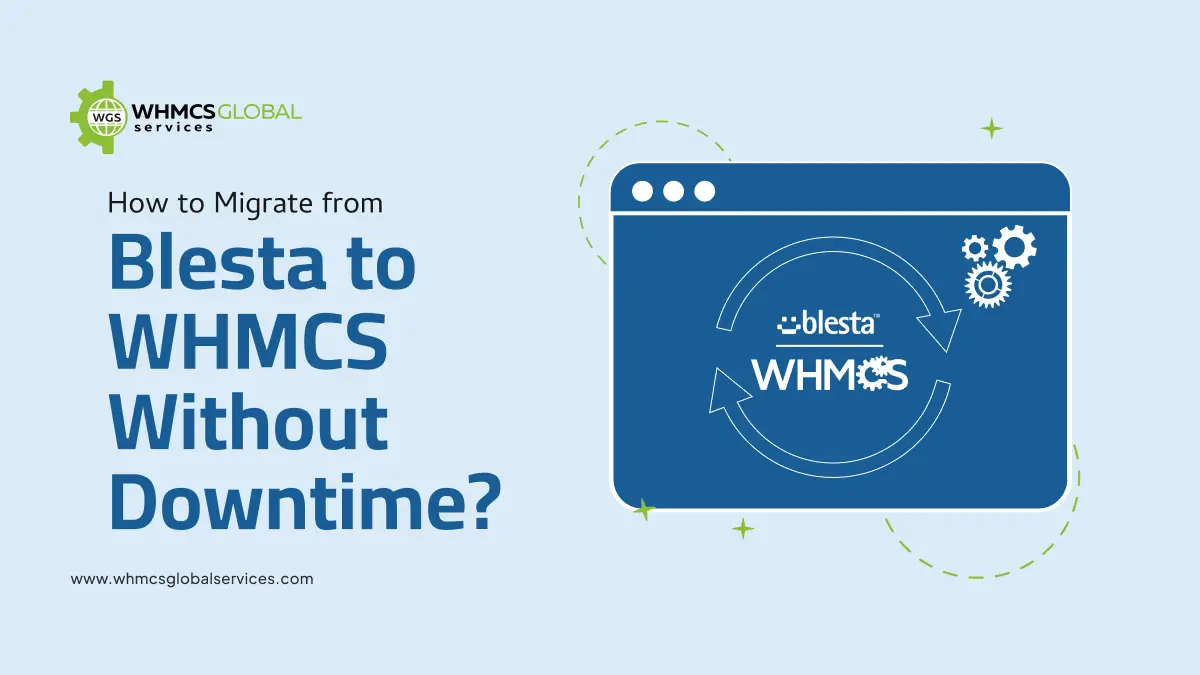
Choosing the right billing and client management software is crucial for web hosting companies and service providers. While Blesta offers a solid platform, many users find WHMCS to be more feature-rich and better supported. If you are considering migrating from Blesta to WHMCS, this guide will help you do so smoothly without disrupting your business operations.
What is WHMCS?
WHMCS (Web Host Manager Complete Solution) is a popular all-in-one client management, billing, and support solution for online businesses, especially web hosting providers. It automates tasks such as invoicing, provisioning, domain management, and support ticketing, making it easier to manage customers and services efficiently. WHMCS themes customize the Client Area’s look and feel, ensuring brand consistency, responsiveness, and enhanced user experience across all devices.
![]()
![]()
What is Blesta?
Blesta is a client management, billing, and support software designed for web hosting companies and other online service providers. It is known for its clean interface, modular design, and developer-friendly approach. However, some users report limitations in support and fewer integrations compared to WHMCS. Blesta themes customize the client area’s appearance with responsive, modern designs and branding options, enhancing user experience without requiring code changes.
![]()
![]()
What is the Difference Between WHMCS and Blesta?
| Feature | WHMCS | Blesta |
| User Interface | Comprehensive and widely used; intuitive and built with web hosts in mind | Clean, developer-friendly, modular and developer-centric |
| Support | Extensive official support, including ticketing system, community forums, and self-service tools | Official support with phone calls, community features, and documentation |
| Integrations | Large number of modules and addons; integrated with all leading control panels and service providers | Fewer integrations but modular for developer customization |
| Automation | Advanced automation for billing, provisioning, recurring invoicing, and payment capture; fully automated hosting account setup and domain management | Good automation for billing and provisioning but less extensive |
| Pricing | Subscription-based with tiered plans; setup takes days, not months | One-time purchase or subscription options available |
| Customization | Highly customizable with templates, hooks, and a powerful developer API | Modular design focused on developers for easy customization |
Why is it Necessary to Migrate from Blesta to WHMCS?
Better Support
- WHMCS offers official support channels and a large user community, which many users find helpful for obtaining assistance.
- Blesta provides support with a smaller community but focuses on developer-oriented help, which may suit businesses with technical expertise.
More Integrations
- WHMCS includes a wide selection of built-in payment gateways, domain registrars, and hosting control panels, facilitating automation for many common services.
- Blesta provides a more focused set of integrations and may require custom development for certain features.
Advanced Features
- WHMCS offers a range of automation options like automatic account provisioning, flexible billing, and detailed reporting, which help to reduce manual tasks.
- Blesta offers solid core features with emphasis on simplicity and modularity.
Community and Updates
- WHMCS has a larger user base and releases more updates frequently, which can contribute to security, new features, and a variety of third-party add-ons.
- Blesta maintains a smaller but active community with regular updates tailored to its users.
Scalability
- WHMCS is often chosen by businesses with growing client bases and complex billing requirements due to its scalability.
- Blesta is well suited for smaller setups or teams that prefer a developer-centric approach may find it sufficient for their current needs.
How to Migrate from Blesta to WHMCS? (Step-by-Step Guide)
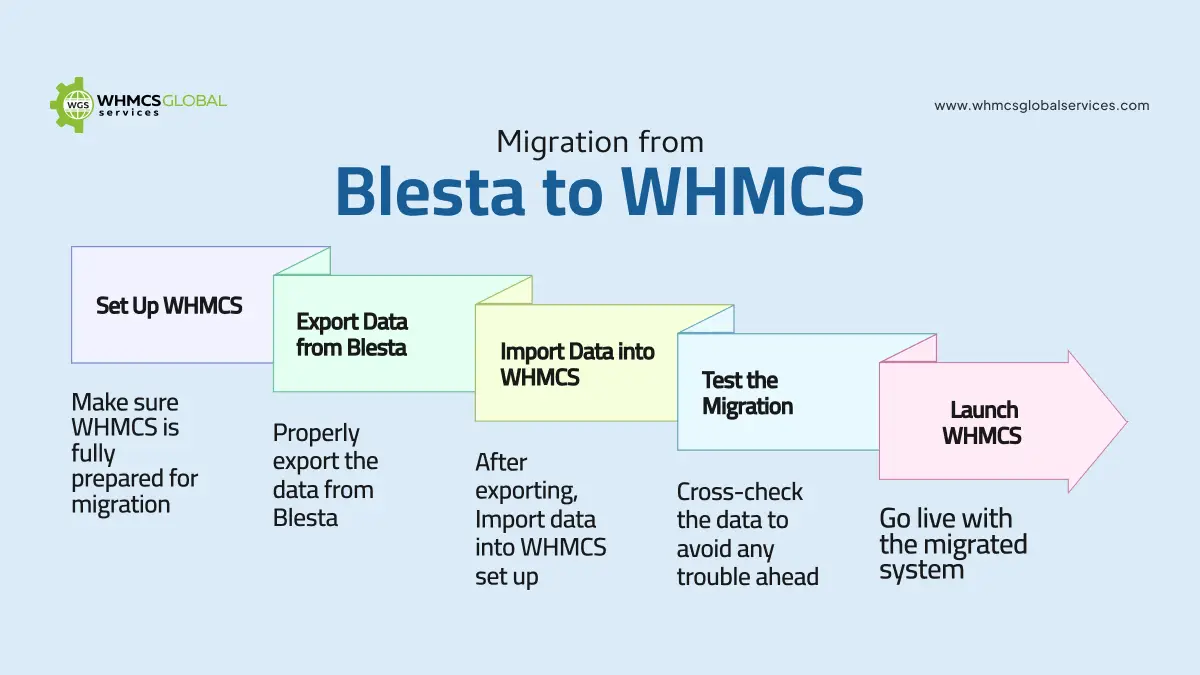
Step 1: Set Up WHMCS
- Purchase WHMCS from the official site.
- Upload the installation files to your server and follow the WHMCS setup wizard for a smooth installation.
- Log in to the admin dashboard to enter your company info, configure payment gateways, and set up email templates.
Step 2: Export Data from Blesta
- In Blesta, export your clients, invoices, and product data.
- Verify the exported files are properly formatted for import.
Step 3: Import Data into WHMCS
- Access the WHMCS Admin Area and use the import tool.
- Map Blesta data fields to the corresponding WHMCS fields.
Step 4: Test the Migration
- Confirm all client records, invoices, and tickets transferred correctly.
- Perform test actions like creating invoices and submitting tickets to ensure functionality.
Step 5: Launch WHMCS
- Make your WHMCS system live and accessible to clients.
- Notify clients about the migration and provide new login details if necessary.
How to Prepare for Migration?
Audit Blesta Data: Thoroughly review all client profiles, invoices, service plans, and support tickets in Blesta. Ensure all information is accurate, up to date, and free of duplicates or errors. Remove or archive outdated service plans and resolved tickets to keep the system clean.
Backup Everything: Create a complete backup of your Blesta data by exporting the database and copying all related files, including configuration files, themes, and plugins. Verify the integrity of these backups and store them securely in multiple locations such as cloud storage or external drives to prevent data loss.
Check WHMCS Requirements: Review the official WHMCS documentation to confirm your server meets the minimum software and hardware requirements. This includes verifying the PHP version, database type, necessary extensions, CPU, RAM, and storage capacity. Update or upgrade your server components as needed and perform compatibility tests after installation.
Schedule Downtime: Plan the migration during periods of low client activity to minimize disruption. Inform your clients well in advance about the scheduled downtime, its expected duration, and what to expect during the process. Ensure your team is fully prepared to execute the migration efficiently within the planned window to avoid extended outages.
How to Prepare for Migration?
To guarantee a smooth transition after migration, verify the following:
- Accuracy of Client Data: Confirm that all customer information, product details, and invoices have been accurately transferred.
- Automation Configuration: Review and test all automated workflows, such as billing and provisioning, to ensure they function properly.
- Support System Performance: Check the ticketing system to ensure customers can easily reach out for assistance.
- Payment Gateway Integration: Validate the payment gateway setup and conduct test transactions to confirm proper operations.
How to Optimize WHMCS After Migration?
- Communication with Clients: Personalize your email templates to enhance client interactions. WHMCS supports automated emails that maintain a personal touch.
- Exploring the Add-Ons: Boost your business capabilities by incorporating add-ons such as project management, fraud detections and others.
- Regular Updates: Keep your WHMCS installation up to date to benefit from the latest performance improvements and security enhancements.
- Integration: Streamline your operations by connecting WHMCS with platforms like cPanel, Direct admin, or external CRM system.
What are the Common Issues and Their Solution While Migration?
| Issue | Solution |
| Data Mismatch or Loss | Double-check export/import mappings; perform test runs |
| Downtime During Cutover | Schedule migration during off-peak hours; freeze orders temporarily |
| Payment Gateway Configuration | Reconfigure gateways in WHMCS; test transactions |
| Client Login Issues | Reset passwords or notify clients to reset |
| Missing Custom Fields or Data | Manually migrate or customize import scripts |
| Email Notification Failures | Verify email templates and SMTP settings |
Conclusion
Migrating from Blesta to WHMCS can significantly enhance your business operations with better support, more features, and greater scalability. By carefully planning and following the step-by-step migration process, you can ensure a smooth transition without downtime. Always back up your data and test thoroughly before going live.